by Brian Hampton
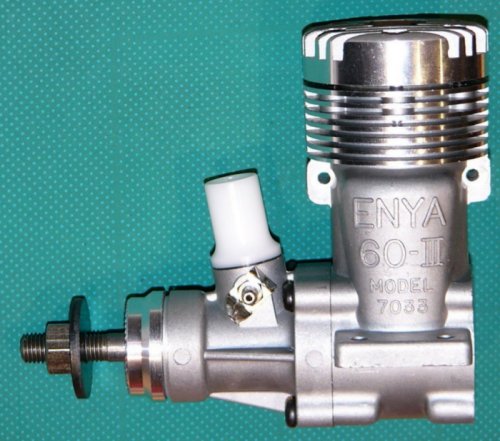
Enya engines are now available direct from the factory from their web page and a little hunting around will show some very interesting offerings including a range of matched pairs for twin engined models where one is reverse rotation. I bought mine through Kaz Minato in Japan who, at the time, was offering 20% off factory prices.
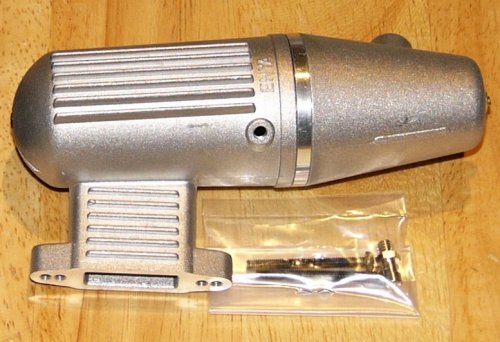
Enough of the background, on to my engine. Out of the box and it gleamed like a jewel reminding me of my old 45 (which I still have). The only difference between this and the old 60 is that there’s a new crankcase so the latest bolt through mufflers can be used instead of the old strap on type. This shows that the 60 (at least) hasn’t been built up using old spares but is entirely new. I ordered the silent muffler which has a machined baffle fitted between the front and rear parts. This muffler is also used on later Schneurle Enyas so, although it bolts straight on, the port size is smaller than on the engine itself. After the engine has been run in I’ll blend the port to suit to find out if there’s any gain by matching it.
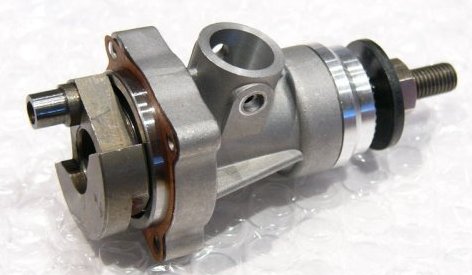
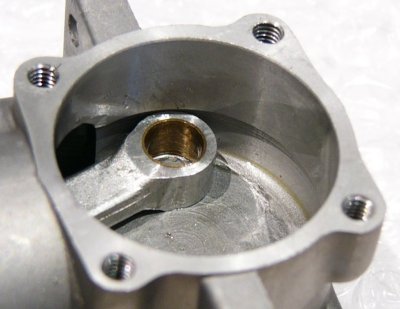
One thing I noticed (before starting the strip) was that the piston had a slight catch as it travelled up the liner at the top of the exhaust port. With the piston/liner removed it was much easier to feel this catching so, not wanting to rely on any running in to smooth things out, I carefully filed the inside top edges of all the ports with a jeweller’s file until the ring moved freely over the ports.
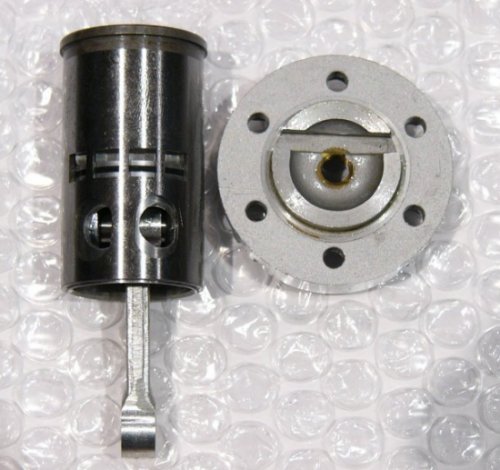

Bore 24mm
Stroke 22mm
Swept volume 9.953cc (0.607 cub inch)
Squish clearance 1.35mm (.053″)
Combustion chamber volume (total of head and squish volumes) 1.236cc
Compression ratio 9.05:1 (the original 60-IIIB was listed as 10:1)
Exhaust opens 70 degrees BBDC
Transfer 60 BBDC
Inlet opens 40 ABDC
Inlet closes 55 ATDC
Weight without muffler 370 grams (13.05 ounces)
Weight with muffler 470 grams (16.58 ounces)
Venturi bore 8mm
Spray bar diameter 3.97mm
Effective Venturi area (bore less spray bar area) 18.51 sq mm (.029 sq inch)
Ratio of venturi area to engine size .047 (that’ll only make sense to a CL stunt flier but it’s an indication of fuel draw).
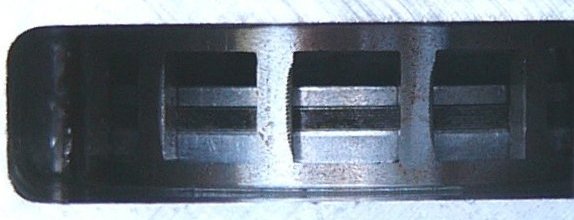
The only thing left to do was to begin running it in so on to the test stand. Being a ringed engine with steel liner it definitely needed my normal running in fuel which is 75/25 all castor plus very rich running. Prop used was a 12×5 Zinger wood. To cut a long story short (and to save myself too much embarrassment), after I figured out that I’d inadvertently got it totally flooded it then started with one flick every time. As a good stunt engine should. Initial running was extremely rich starting with around 5000 revs and a head temp of 60C (140F) and building up slowly over 6 tanks to 8500 (where it was just barely breaking into a 2 stroke occasionally) and a head temp of 115C (240F). All of this took 52 minutes at which point I took off the muffler for a look at the ring to see how things were going. It still looked brand new and only by taking a closeup photo (below) then enhancing the brightness and contrast coud I see any signs it was beginning to run in. Well they always say an Enya takes forever to run in and then longer to wear out. Looking closely at the photo though I was pleased to see that the ring was running in dead even from top to bottom so it’s sitting very flat against the liner. But even the instructions say it’ll take about 2 hours to run in.
